
Project: A toolbox made of folded sheet metal
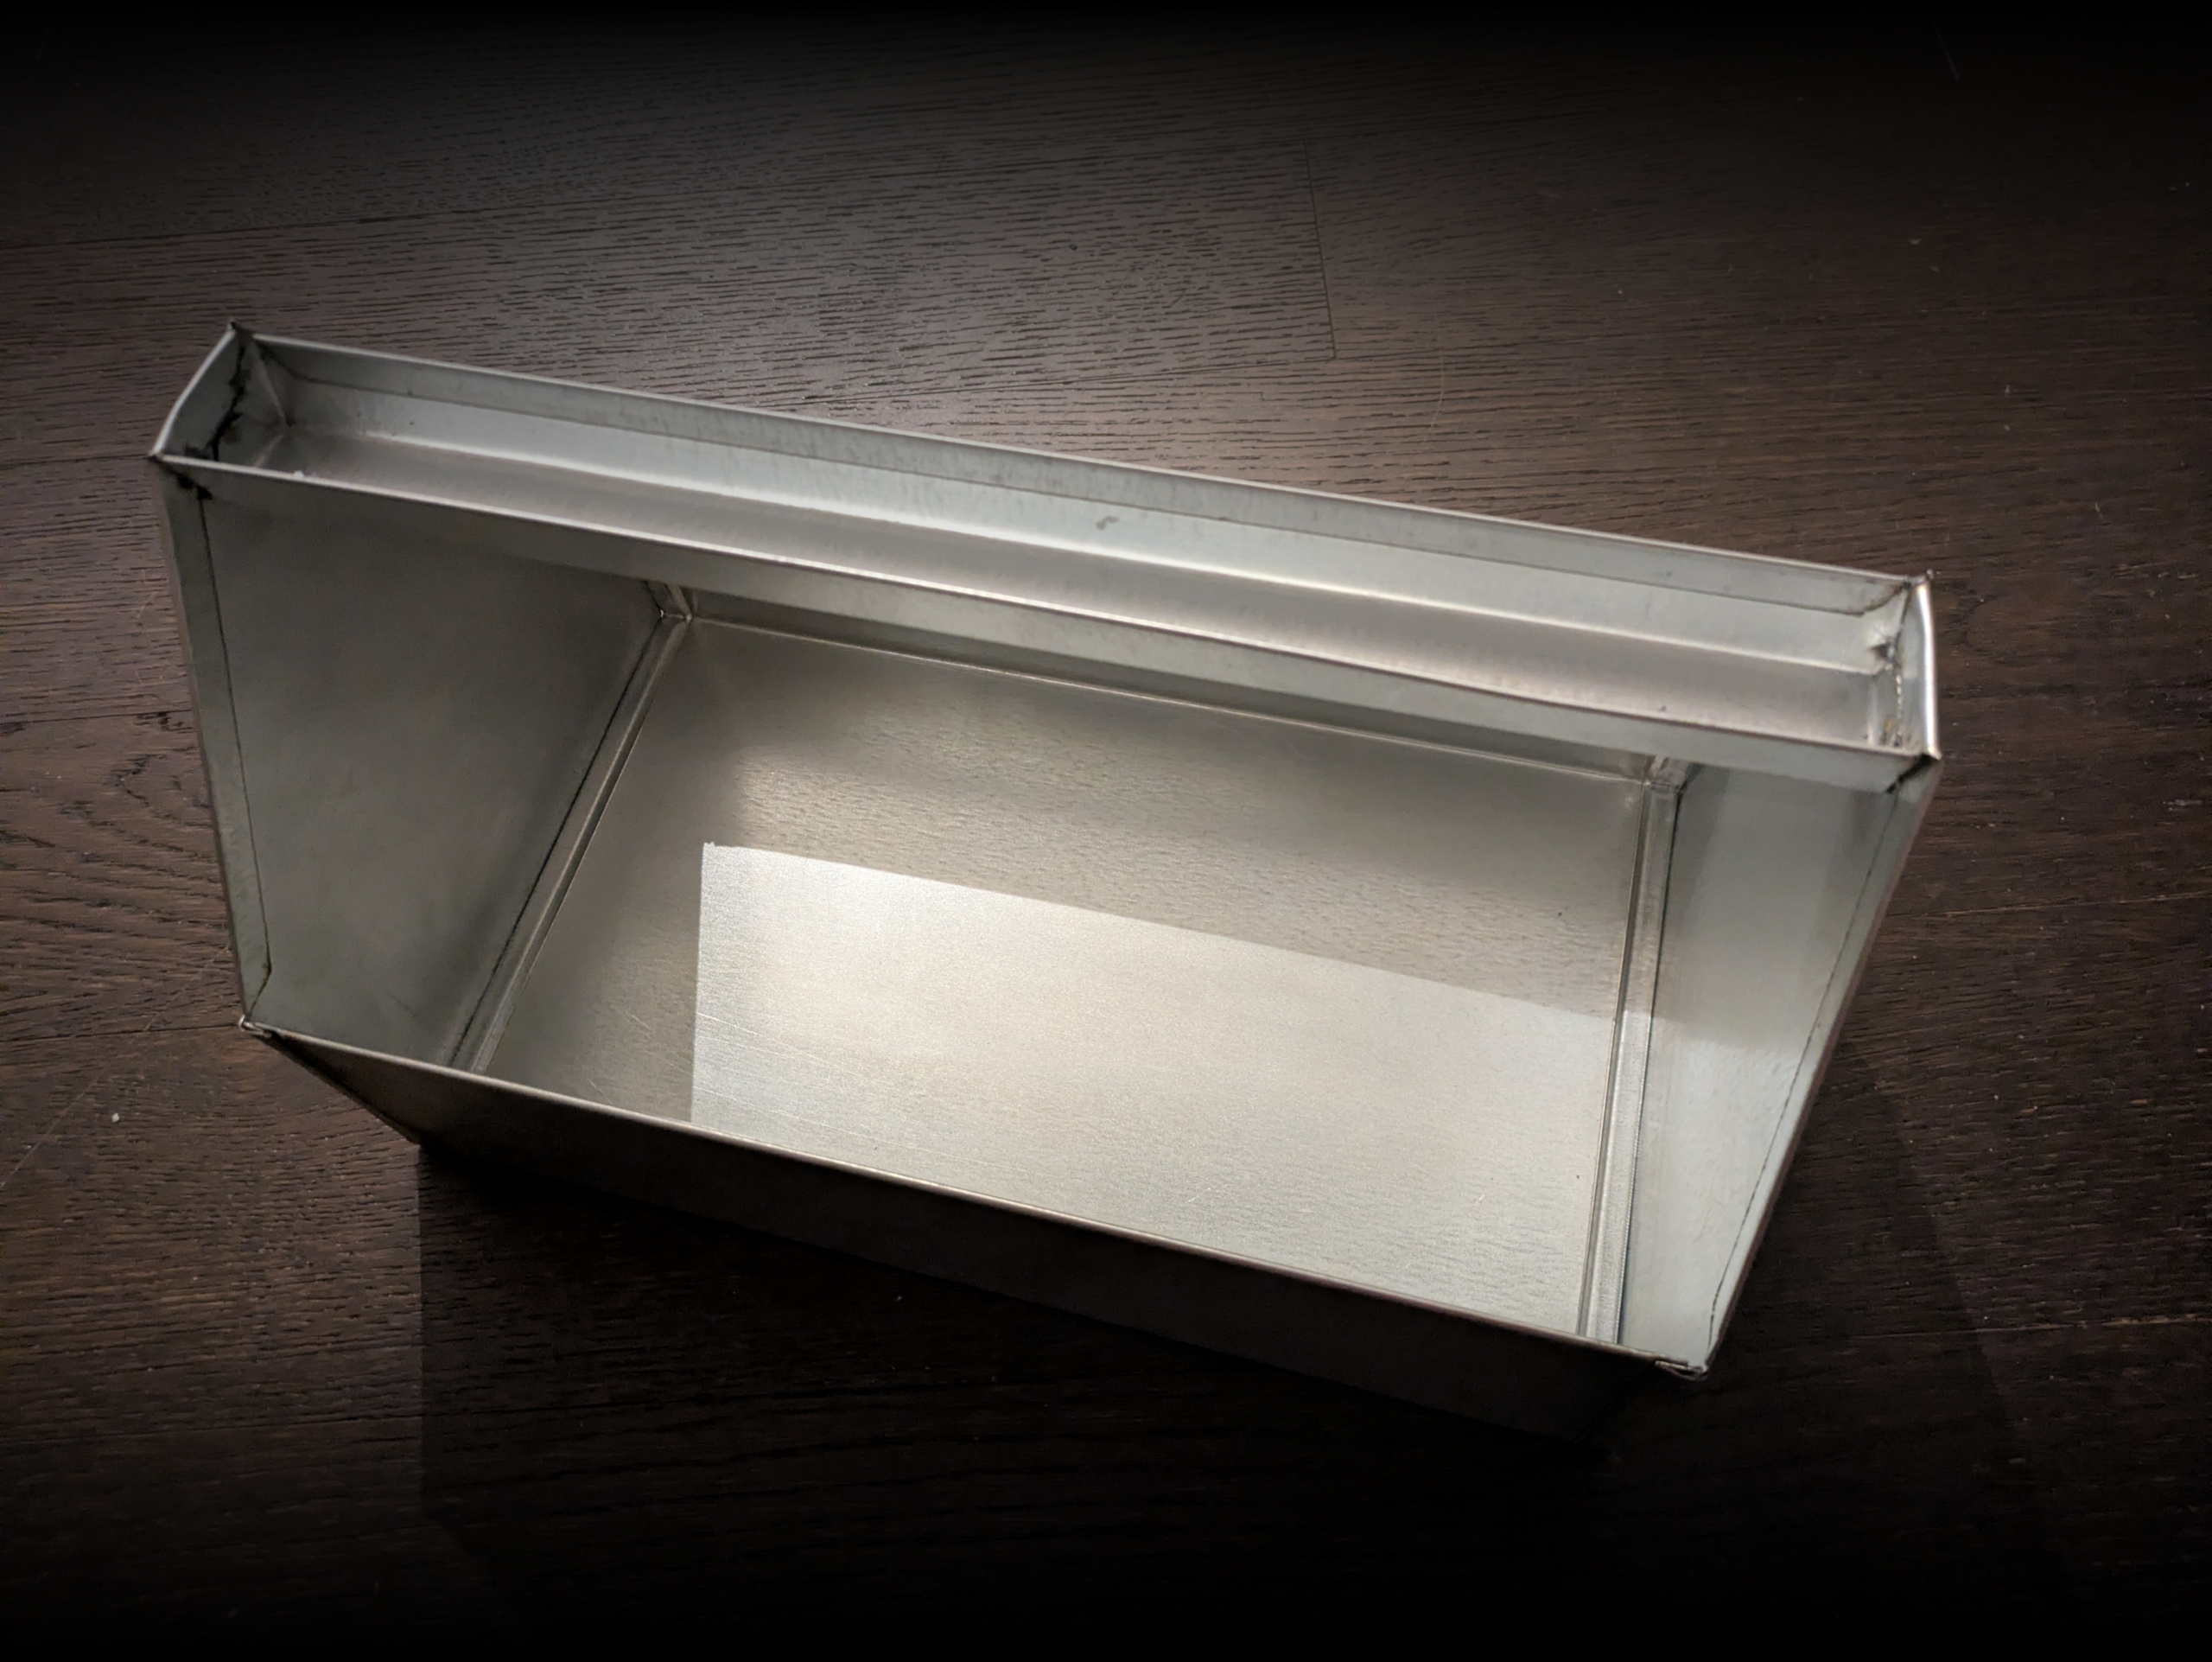
In this post I go through how I made a toolbox, my first sheet metal project at SMART Local 285
Published July 2, 2026
Recently, I had the privilege of getting to create a toolbox at SMART Local 285, a sheet metal union in Toronto. SMART stands for Sheet Metal, Air, Rail, Transportation.
Tools of the sheet metal trade
We were set up with a red metal toolbox (which was also made of sheet metal!) which contained the following tools:
- Setting hammer
- Scratch awl
- Tree scribe
- Double bar scribe
- Aviation snips (red and green)
- Hand seamers
- Crescent wrench
The sheet metal trade essentially requires you to cut and fold sheet metal, which has very sharp edges, and these tools all assist in setting, marking, cutting, and making seams in sheet metal.
Steps to create the toolbox
The toolbox is created in a number of steps:
- Cutting the metal: This was done for us by the facilitator of the workshop and a machine
- Measuring and marking: You can use a tree scribe, a double bar scribe, or a measuring tape and a scratch awl and a straight-edge to mark lines that you will be targeting to fold the seams in
- Seaming the edges: This makes the edges safe to touch without gloves. Seams are created by bending and folding the sharp metal edges in, and then pushing them down so they aren’t likely to unfold. While this can be done by hand, it’s very beneficial to have specialized machinery, especially for longer edges.
- Creating angles by bending the sheet metal so that it forms a 90º angle. The trick to this is to slightly over bend so that when it bounces back into place, it’s a right angle. There’s probably a calculation you can use to calculate the perfect angle based on the material and thickness of material and tool, but we just did it by sight.
- Joining the edges: Once seams are made, you can open them up and join pieces together. This part is a lot trickier than it looks! The facilitator made it look really easy but this was actually the hardest part. This part involves using setting tools and a hand seamer to do well.
- Spot welding: The handle attaches to the sides of the toolbox using spot welding. This specialized welding machine allows you to put the target metal between 2 points and then zapping it. This can create sparks if the electrodes have any debris from previous welds.
- Final setting: Using the hand seamers and the setting hammer at the end after the handle is welded, allowing you to clean up any sharp edges.
The sheet metal we used is galvanized steel so it wasn’t recommended to use any cleaning products on it to clean. Instead, we used a rag and WD-40, a lubricant that can be used to protect the sheet metal surface by displacing moisture to prevent rust.
At the end of the day, I was really happy to have made such a cool thing using actual tools of the sheet metal trade. It was also a great experience visiting the local and learning about the benefits of joining the local. It honestly seems like a great local and if sheet metal interests you, I’d strongly recommend checking out SMART Local 285.