
In the past, I was fortunate to have the opportunity to learn how to cut and join PEX. At the Tools in the Trades Bootcamp, I got to learn how to work with copper, including cutting copper and joining it by soldering. We got to cut copper and use blow torches in the parking lot at IDEAL Electrical.
Squishing copper instead of cutting it: Copper is softer than you think
Well, it’s softer than I thought, anyhow. When I saw the tiny hand tool that I was supposed to use to cut copper, I thought that it was going to be very difficult to do. I thought a power tool was necessary to cut copper but it seems like a tiny hand tool is just fine!
In the image below, the blue tool with the black knob is used to cut copper pipe. To cut it, you place the pipe between the two cutting wheels. Then, you tighten it slightly. Be sure not to over-tighten your you could squish the pipe instead of cut it. The cutting happens when you spin the tool around the pipe rather than when you tighten the wheels against the pipe. You’re supposed to tighten it just enough to ensure it grips the pipe enough to cut through it when you spin it around.
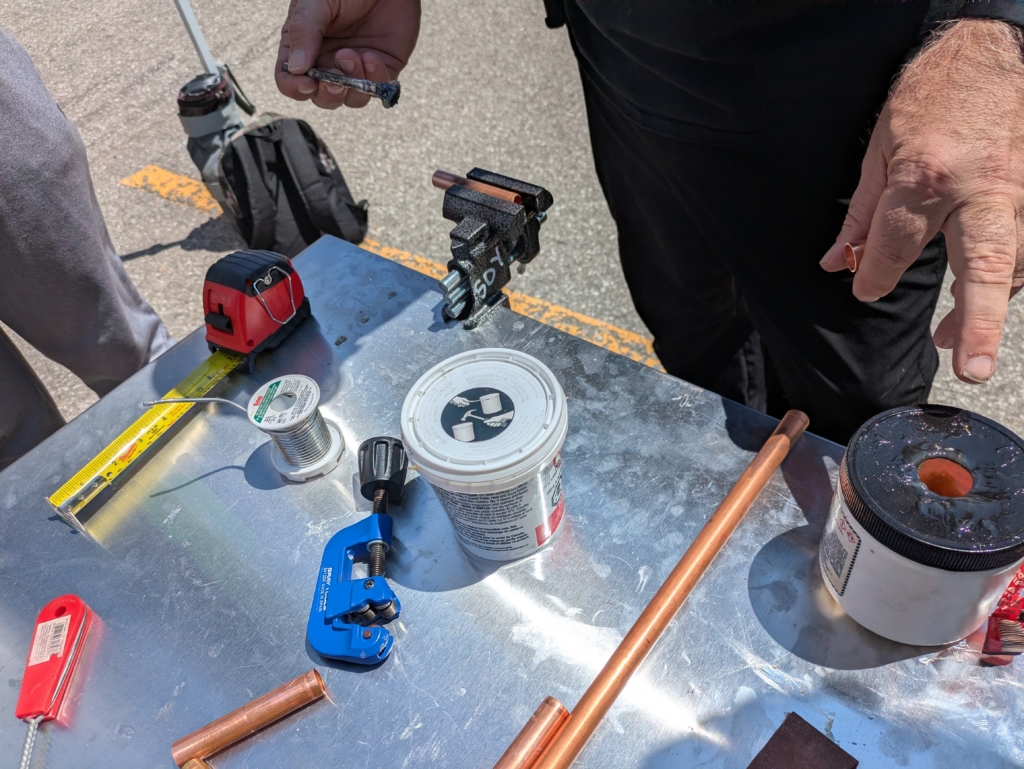
Tools for working with copper pipes including clamps, measuring tape, soldering wire (the spool of wire), pipe cutter (the small blue thing in the middle), a plastic jar of adhesive (referred to as Flux, on the right with a hole drilled into the top of the lid), emery cloth and wire brush for removing oxidation.
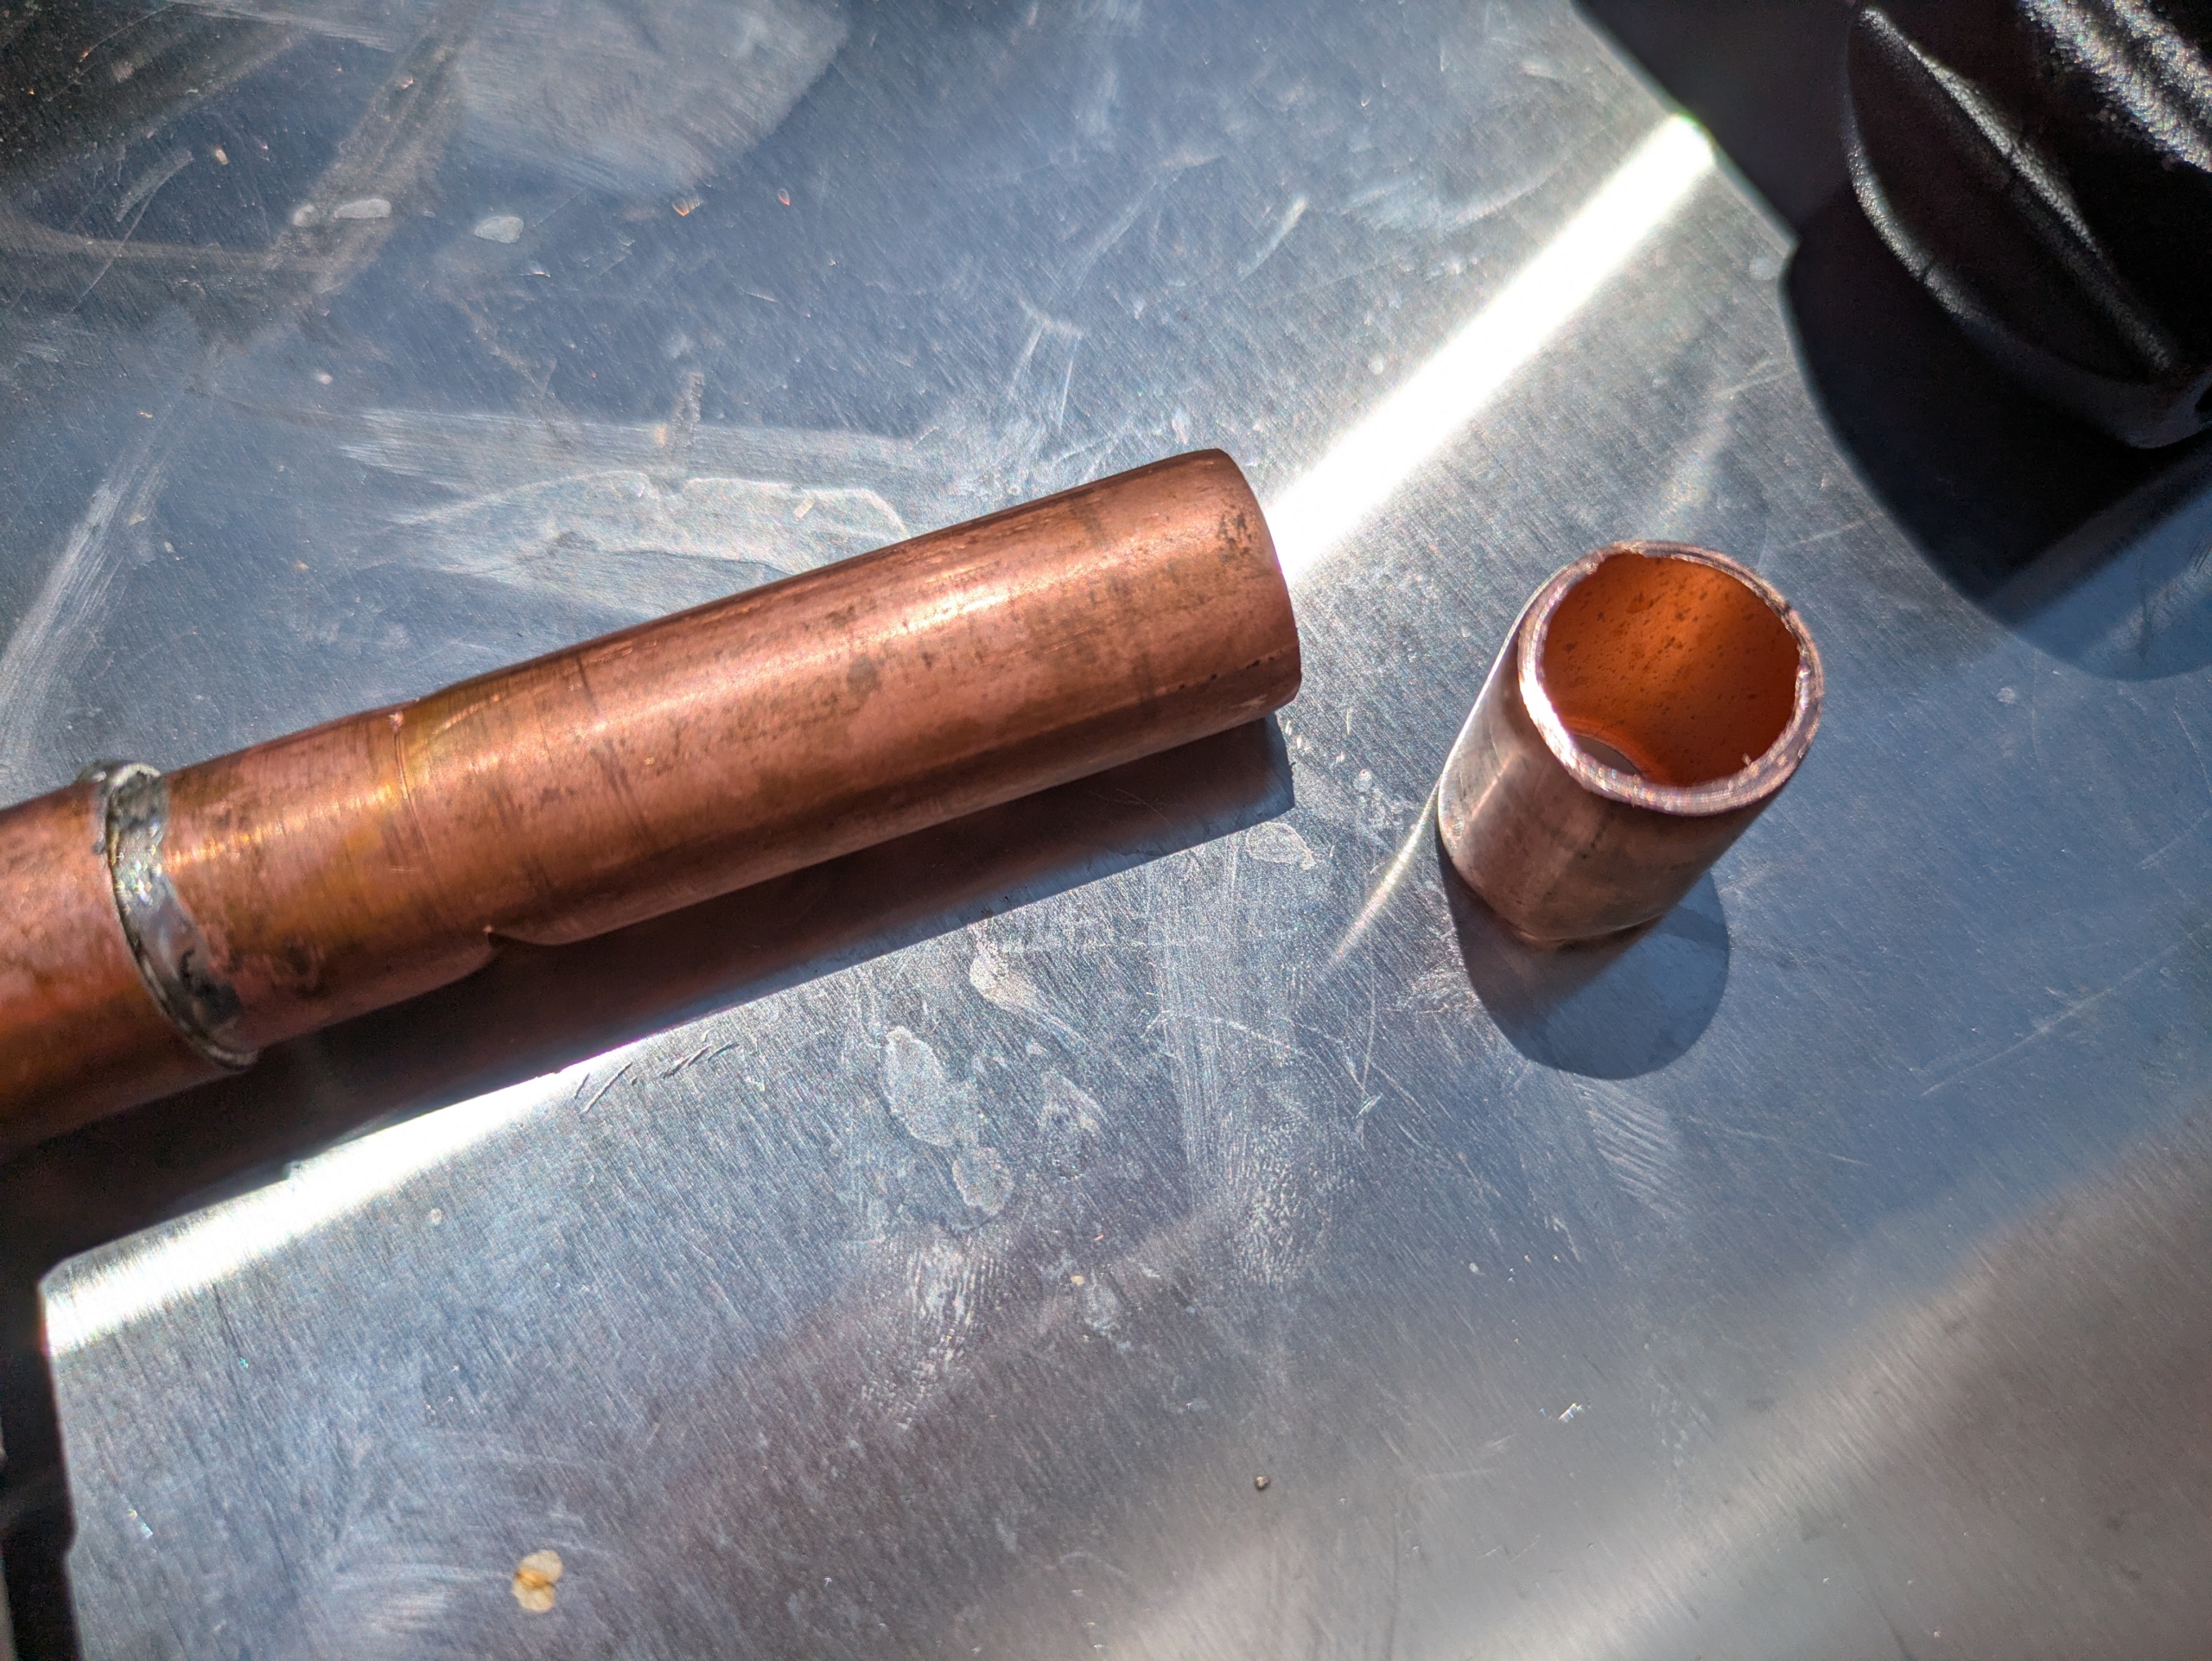
In my very first cut, I anticipated the copper being harder than it actually was. I ended up over-tightening the tool, resulting in the copper pipe getting squished rather than cut.
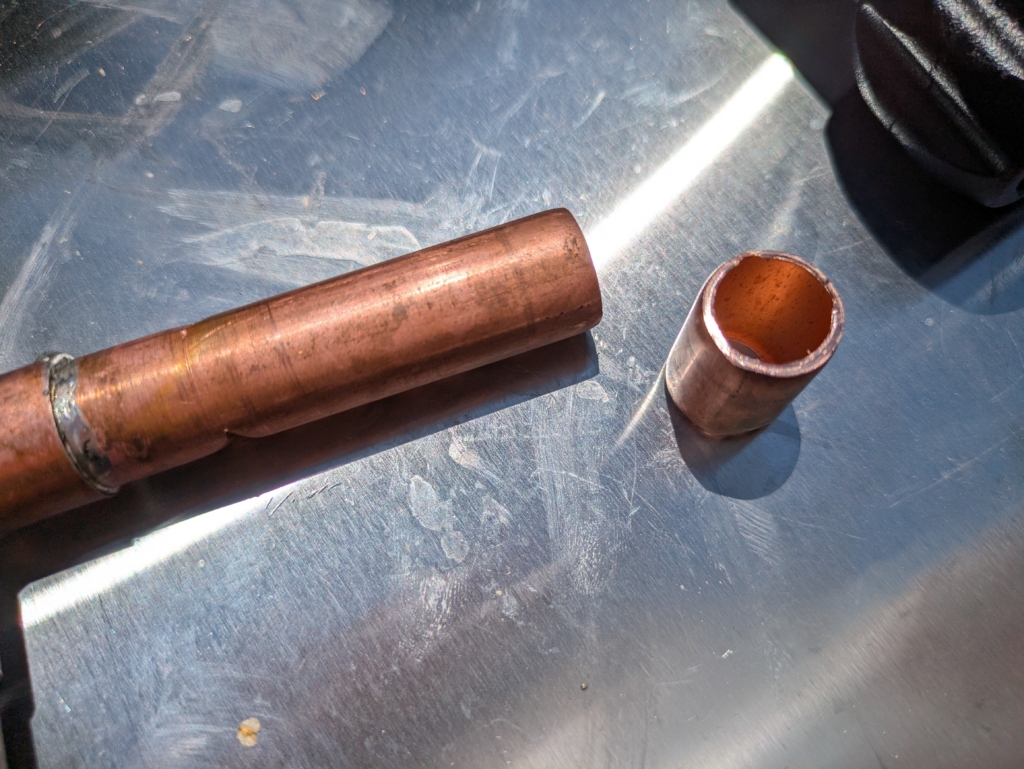
My first copper pipe cutting experience. You can see the failure at the left where I tightened the pipe cutter too tightly causing the pipe to get squished, resulting in a failed cut.
The key is to find the balance between the tightness while spinning it. As you spin the tool, the copper is cut, and then as the grip loosens from cutting, you need to gradually tighten it to ensure the wheels can grip the copper so that when it’s spun, it can work through the copper.
Removing oxidation with an emery cloth and wire brush
The next step is to clean off the copper in order to ensure that the adhesive can bond. The following tools are used:
- An emery cloth, similar to sandpaper but on a cloth not on paper, so it’s used like a cloth. This is used for cleaning off the outer sides of the pipe
- A wire brush, similar to a bottle cleaning brush but smaller and triangular. This is used to clean the inside of the pipe from any oxidation that could have developed.
Adding the soldering paste
The next step is to apply this compound called Flux, which I learned is a soldering paste. It’s designed to pull the soldering material into the joints when heated, to avoid having voids of air between the soldering material and the copper.
I initially thought this was an adhesive similar to the adhesives used when working with PVC, but I was mistaken. This product serves a completely different purpose.
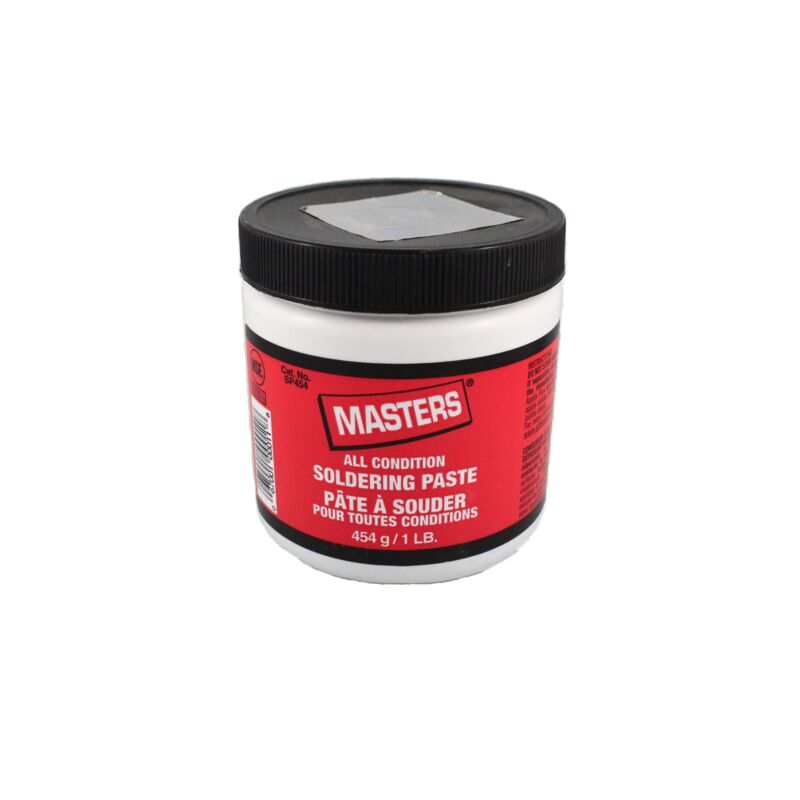
Oatey Flux soldering paste
According to their website:
Masters® All Condition Soldering Paste is a petrolatum based paste used for typical sweat soldering. It has excellent wetting properties that allow for smooth flow and reduced voiding. It is lead free and NSF listed for use with potable water systems.
This is applied after cleaning the copper and before torching it. When the copper and the soldering wire are heated, the soldering wire melts on top of the pipe and is pulled into the joint by the soldering paste. It honestly looks like magic. I’ll need to learn more about how soldering paste works but there’s definitely a difference when you don’t use it—the soldering material kind of just sits on top and doesn’t get pulled into the joints.
Soldering paste is corrosive
When trying to find out the ingredients, I came across an old Safety Data Sheet (SDS) which lists all the hazards associated with it. It turns out this product is quite corrosive. This SDS is from 2021, which is older than the recommended 3 years so it might be out of date. We were using gloves but I don’t recall being warned ahead of time of the dangers of the product. I think if I had known, I would’ve taken more care when handling it, though we may have been wearing the soldering gloves when applying paste, I don’t remember. Thankfully everything was fine! I guess it can’t be that bad if our instructor wasn’t even using gloves when handling it…
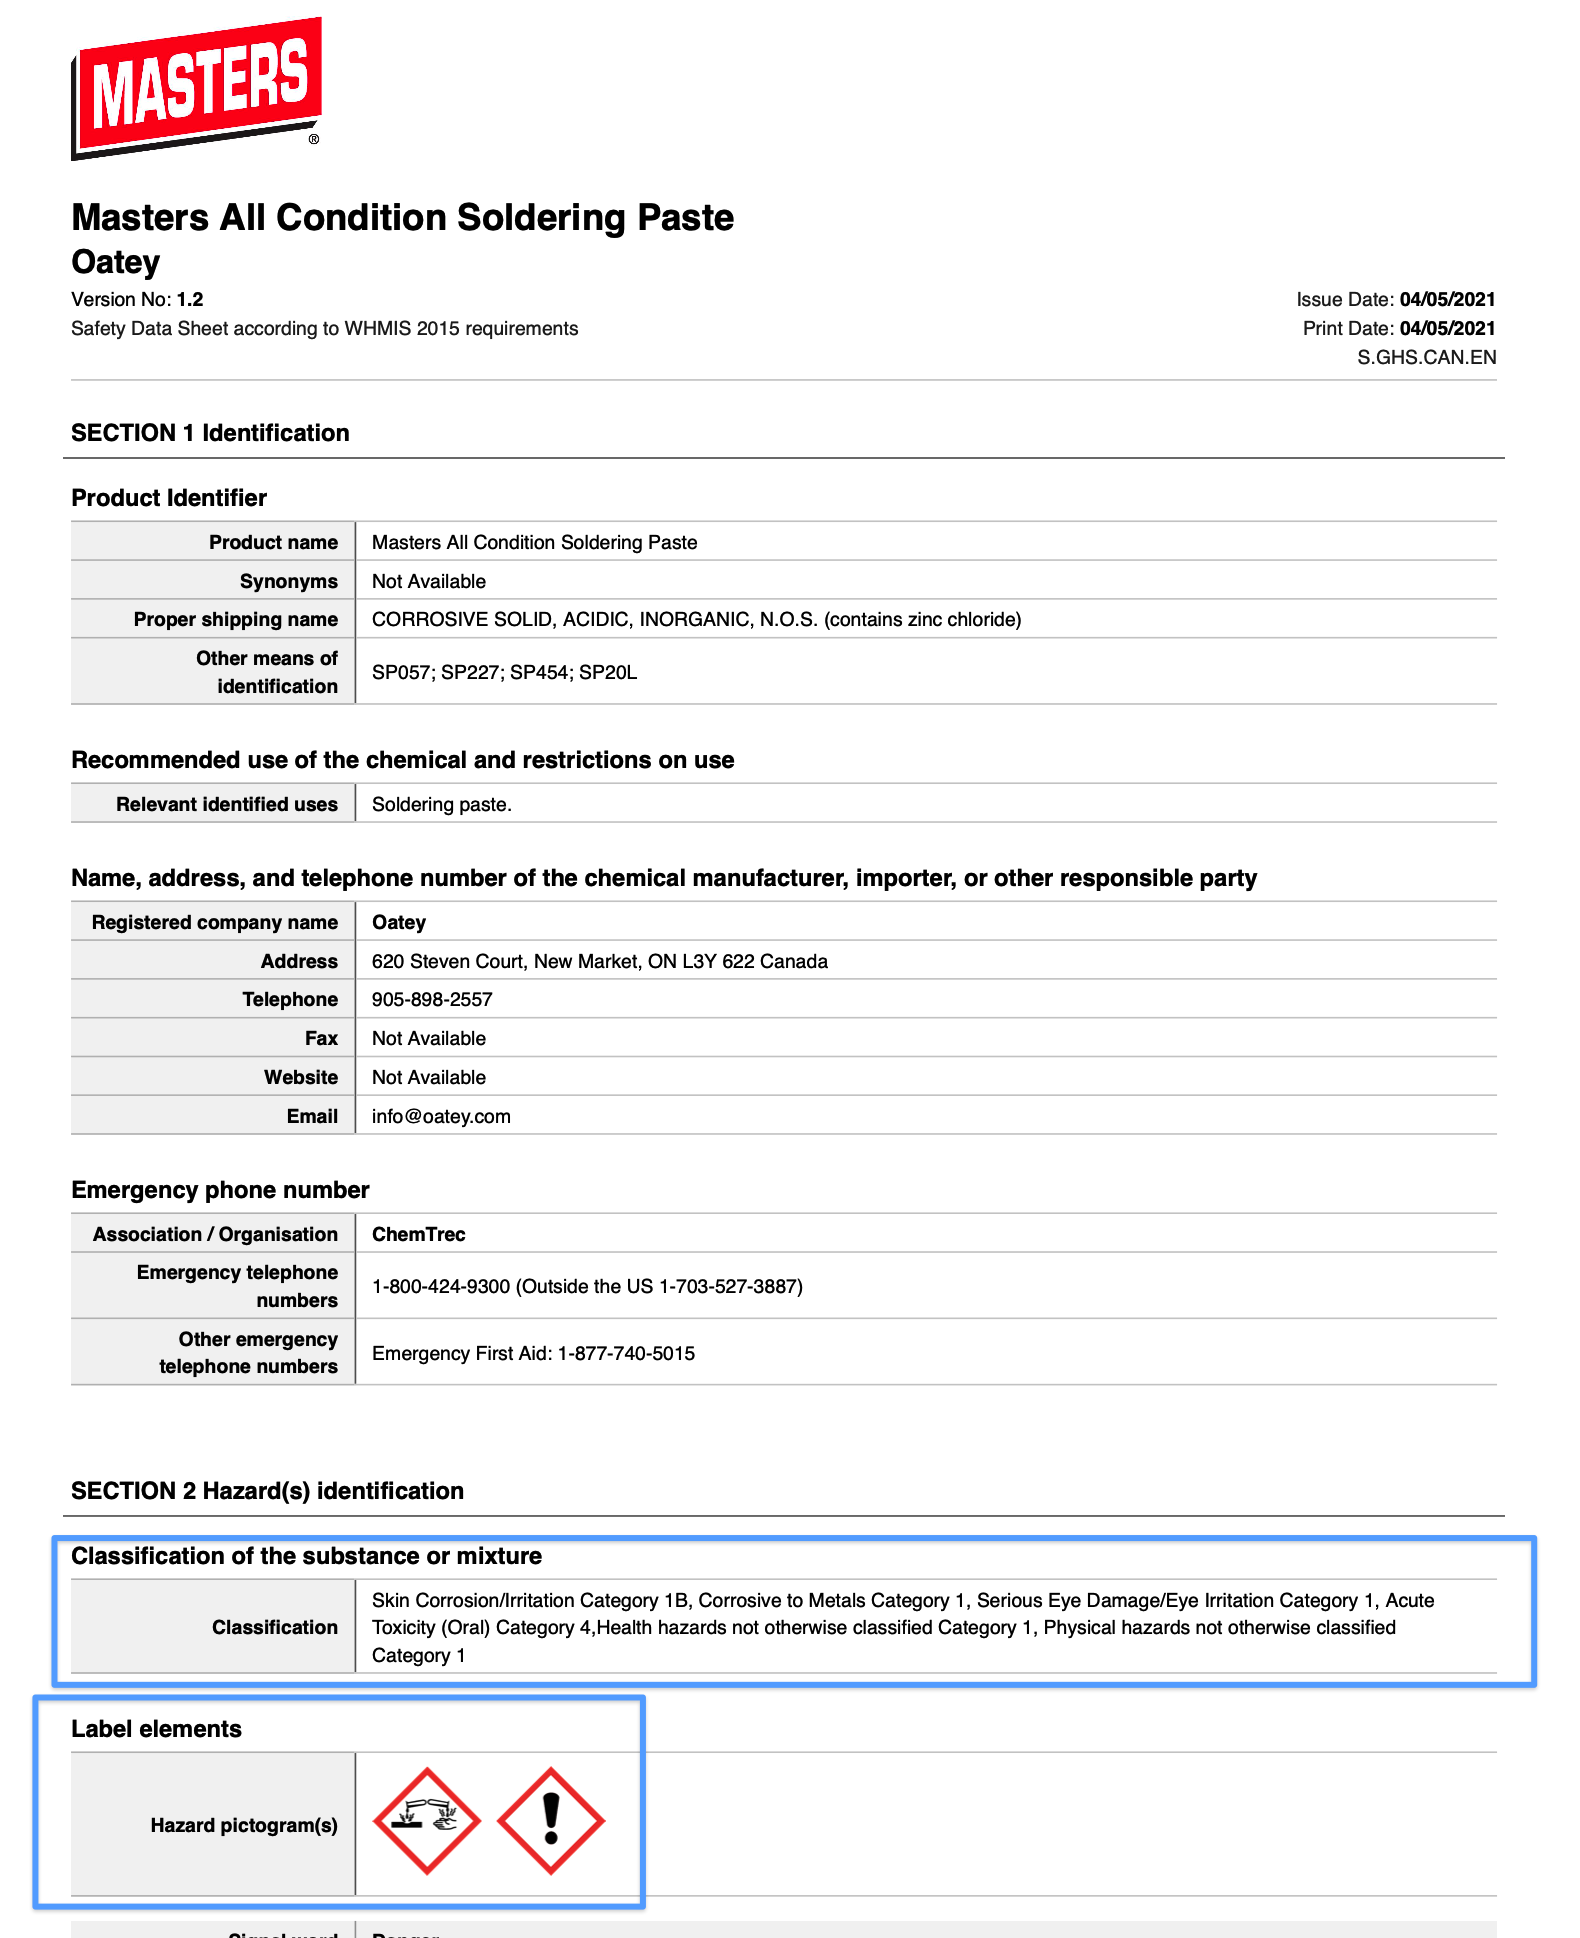
Oatey soldering paste Safety Data Sheet with hazards highlighted
🔥 Heating the pipe with a blow torch
This next part is fun. After applying the soldering paste, it’s time to heat the pipe. This is done using a blow torch.
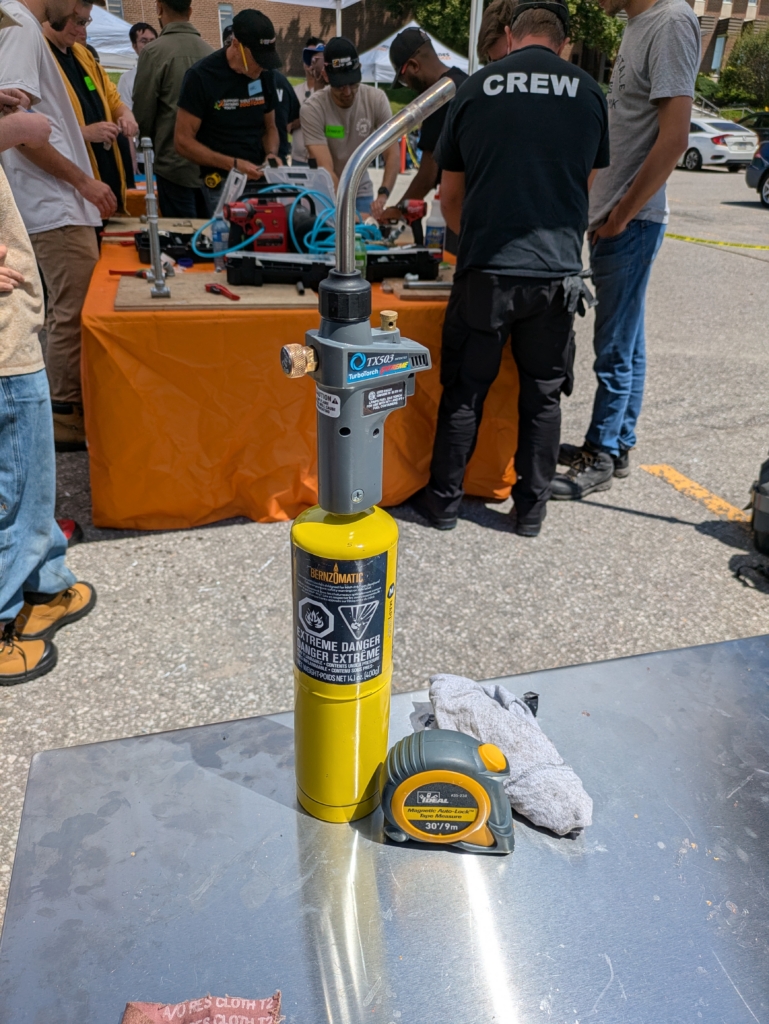
Bernzomatic torch and TurboTorch nozzle
Thankfully this torch has its label intact and we can see all the hazards associated with it including fire and explosion.
After the pipe is heated, we need to add the soldering wire and heat that too. It will melt and get pulled into the joints. How that works chemically/pneumatically/whatever is not something I understand yet, but I’ll look into that at some point! It’s pretty cool though how it gets pulled in, thanks to the soldering paste.
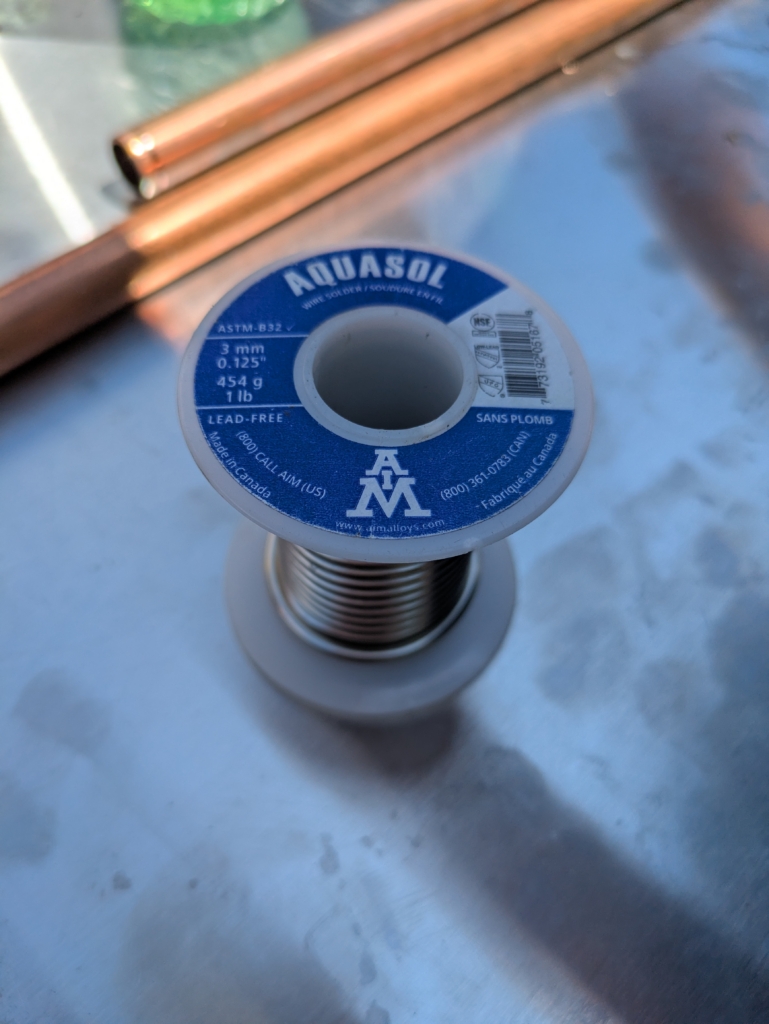
Soldering wire
The pipe gets placed in a metal clamp to hold it while heating. This frees up your other hand to also apply the soldering wire.
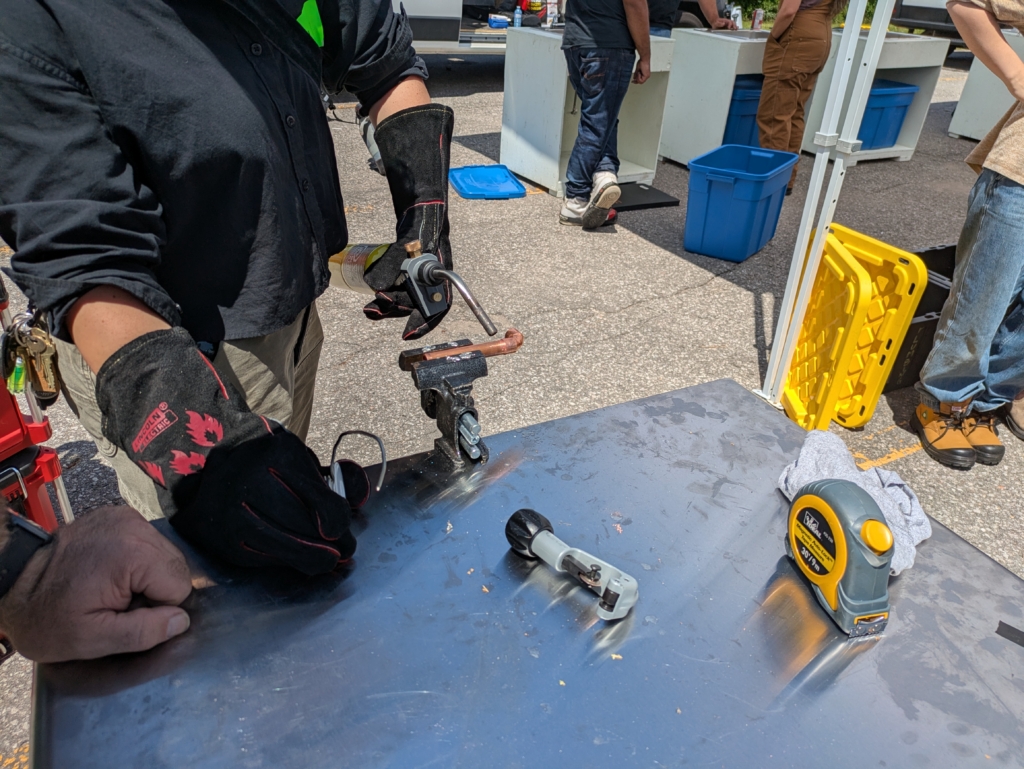
Copper pipe being heated with a blow torch and soldered
The wire is held over the pipe and heated onto the hot pipe so it melts and gets absorbed into the joint.
I didn’t get an action shot, or a picture of the finished solder, but it happened. I will admit my soldering looked quite messy at the end so it’s definitely something I’ll need to work on when given the opportunity.
Conclusion
This was a really fun workshop and I was happy I got the opportunity to participate and learn how to cut and solder copper.
I learned that copper is a softer metal than I was expecting and it can be cut pretty much as easily as PEX.
I also learned that I need to work on my soldering, to clean up the appearance of the joints I solder.
I had a lot of fun and felt like I gained some valuable learnings and experience.