
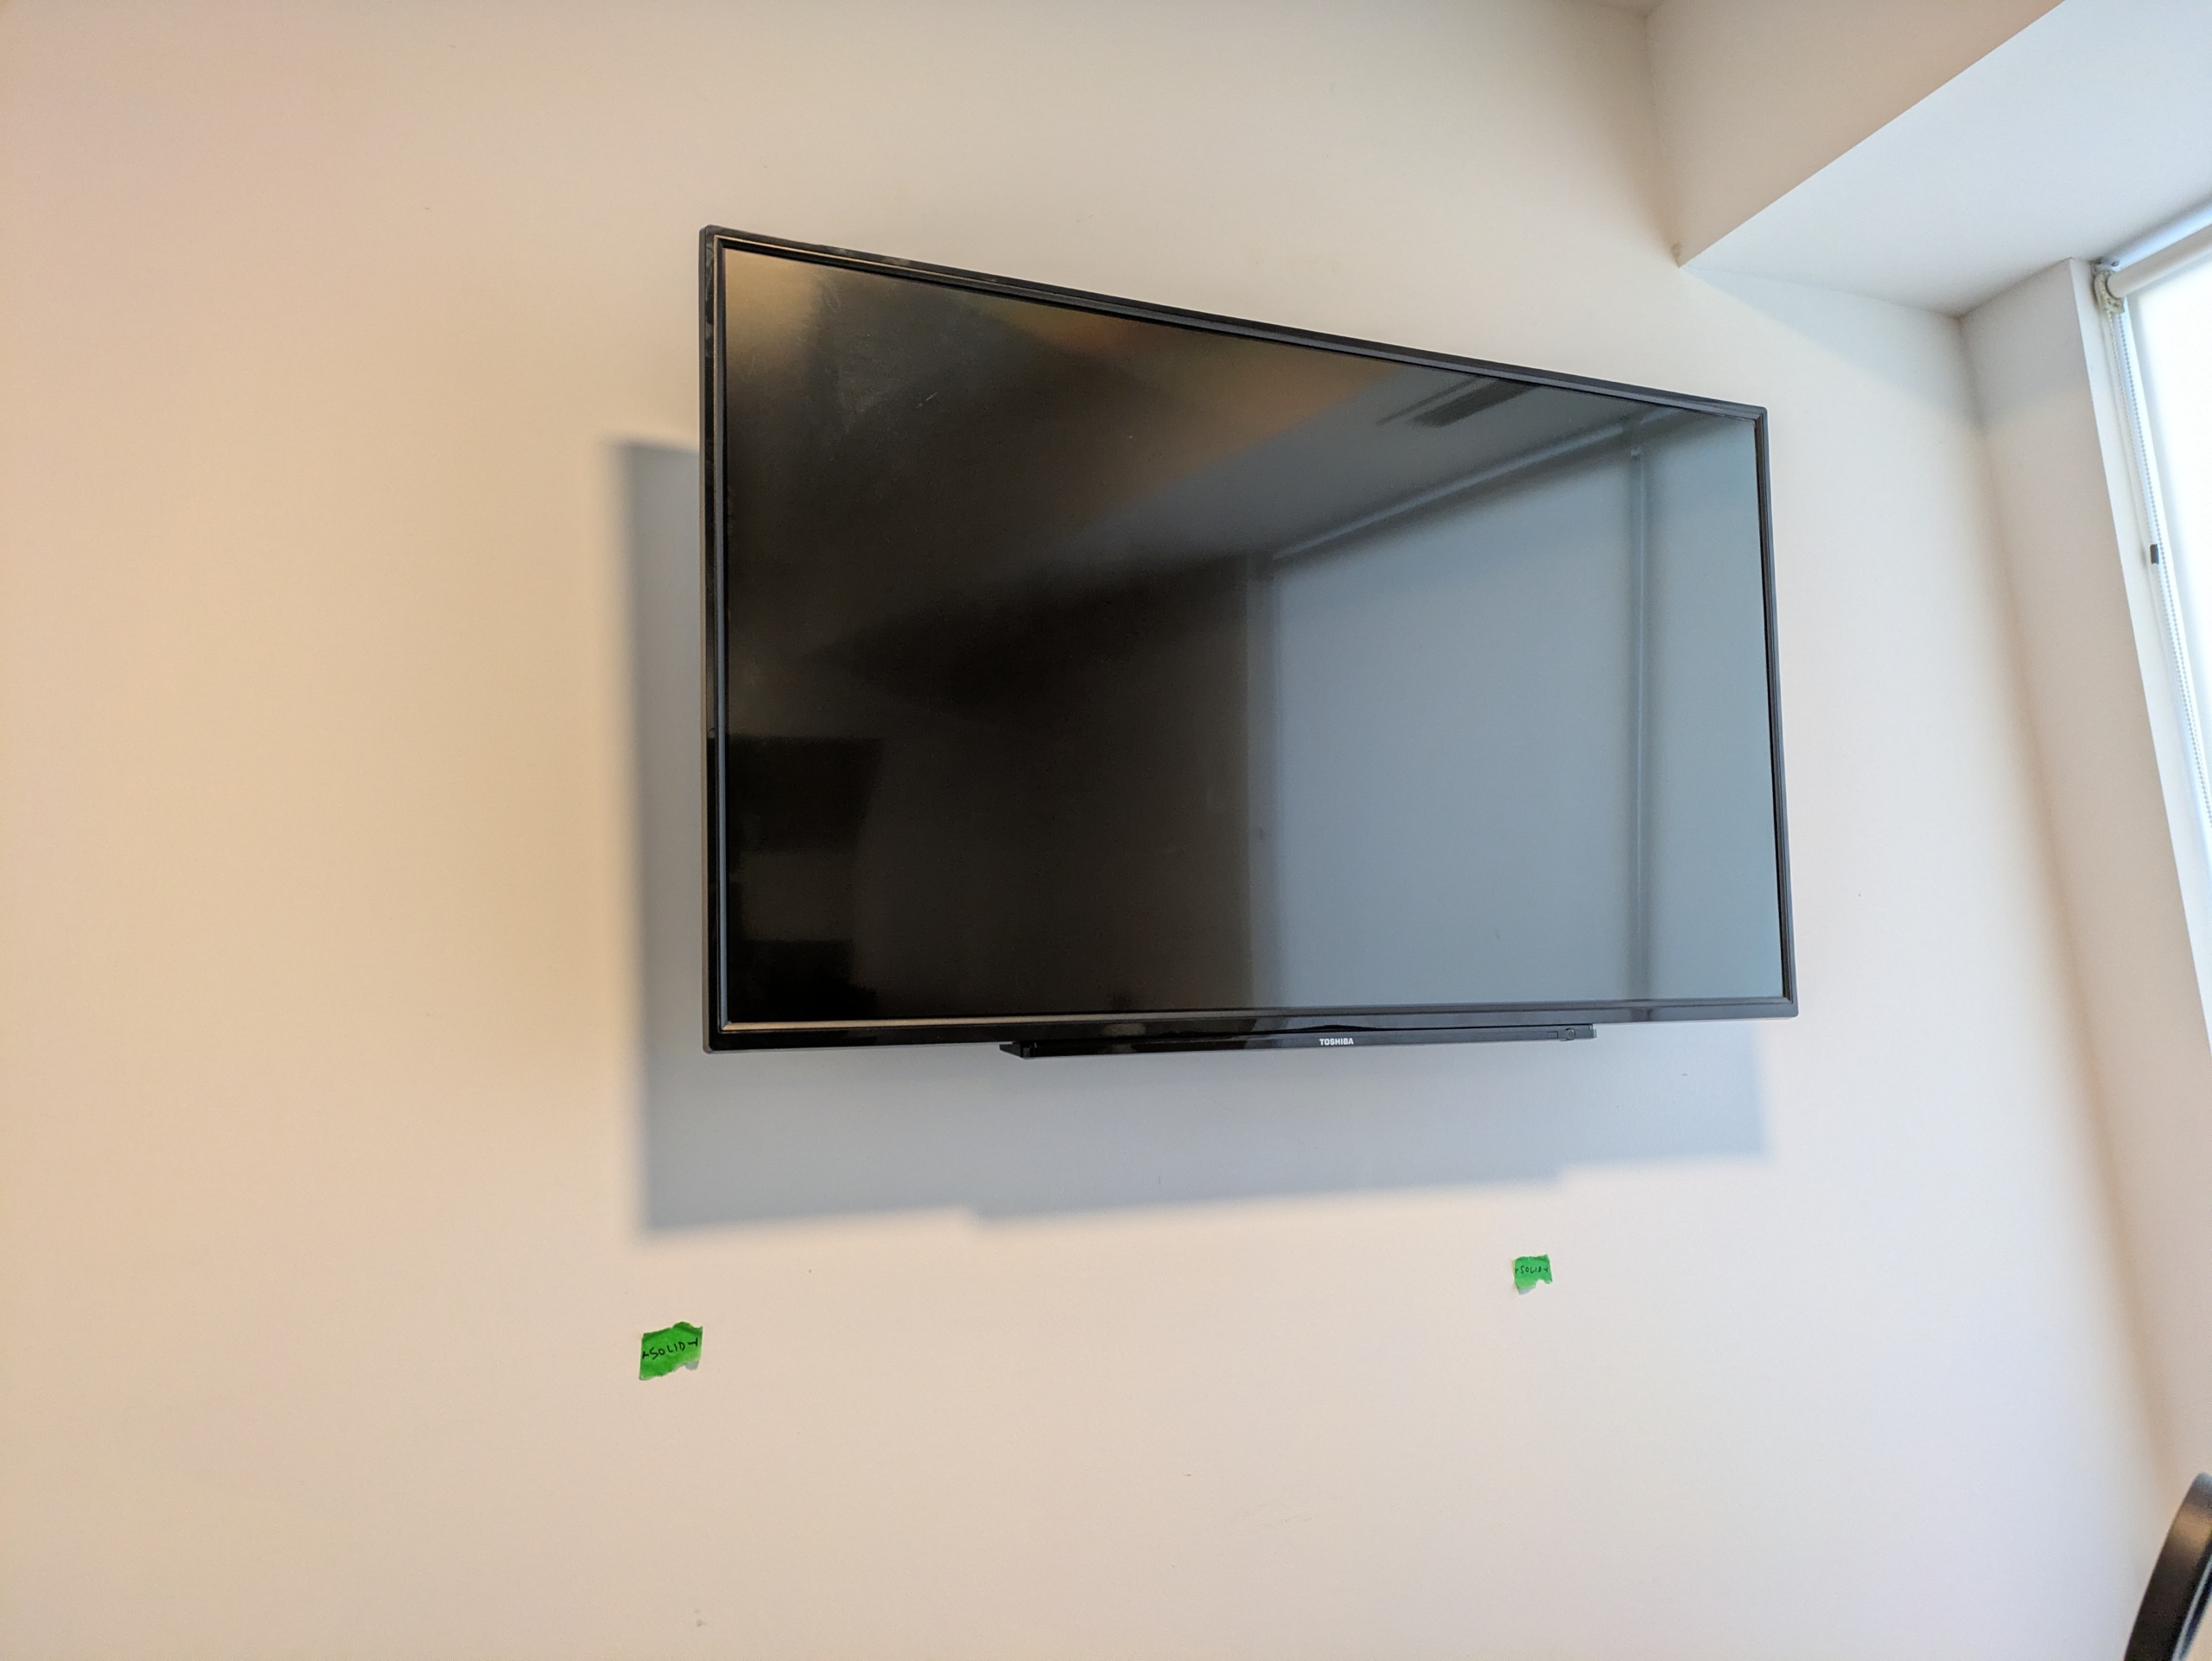
In this blog post I’ll go through the steps I took to mount my TV onto my wall, which is a concrete wall covered in drywall.
The TV mount
I purchased a TV mount that would’ve been easy for one person to mount on their own. The main feature in this case was that I could hang it and let go before securing with screws.
This mount had instructions for the following installations:
- Concrete
- Drywall with wooden studs
My wall was concrete but it was also drywall. The drywall was 5/8″ thick. The mount did not provide instructions for mounting onto a wall that was both concrete and drywall. This brings me onto the next part.
The screws
The lag screws provided did not specify installation instructions for a concrete wall covered in drywall, just a concrete wall. For this reason, I wanted to compensate for the extra 5/8″ of an inch that the drywall would “use” of my lag screws. For this reason, I went shopping for longer screws.
Unfortunately, this was on a day that fastener specialist stores were closed, so I went to a local hardware store. I did experience a bit of resistance at a hardware store from an associate who thought I did not need to get longer screws, but the TV was to be mounted above my desk and I’d rather be safe than sorry and have my TV fall on top of me. For this reason, I got longer lag bolts (at a different store that actually sold suitable fasteners). These longer bolts were a bit longer to compensate for the thickness of the drywall. It’s very possible that the provided screws were enough, but I didn’t think they were long enough and preferred to get longer ones.
Measuring the position
I spent some time measuring and positioning a piece of cardboard I cut to the size of my TV, holding it in various areas to see how I felt about the positioning before proceeding with drilling the holes.
I also used a level to ensure that the template was level on the wall before I traced it and used the markings to drill holes.
Drilling the holes
Before drilling the holes, I wanted to use a stud finder. This was a concrete wall, so it wasn’t particularly useful for finding studs, but I was able to find some metal in the wall and decided to avoid those areas.
This task required using a hammer drill and a concrete bit of the correct size for the provided screws and anchors.
In some of the pictures, you’ll see green painters tape with the word “solid” written on it. I was pretty sure it wasn’t studs given the wall is concrete but I wasn’t sure what it was. The green tape essentially served as a “do not drill here” sign.
Carefully hammering in the anchors
I hammered the plastic anchors gently into the wall, using a screwdriver similar to how you would use a nail setter. This allowed me to hammer it in without accidentally squishing it or damaging the surrounding wall. I ensured that the head of the anchor was flush with the concrete rather than being flush with the drywall. This was to ensure that the maximum amount of anchor was in concrete.
Driving the lag bolts
After drilling the holes and ensuring the anchor was properly set in the concrete, it was time to drive the hex lag bolts. For this task I had purchased a nut driver set that I could use on my power drill. Manually driving 4″ lag bolts into anchors in concrete with a hex head screw driver would’ve been more strain on my wrists and elbows than I would have preferred, plus any excuse to buy a new tool, so I spent $10 and bought a nut driver set.
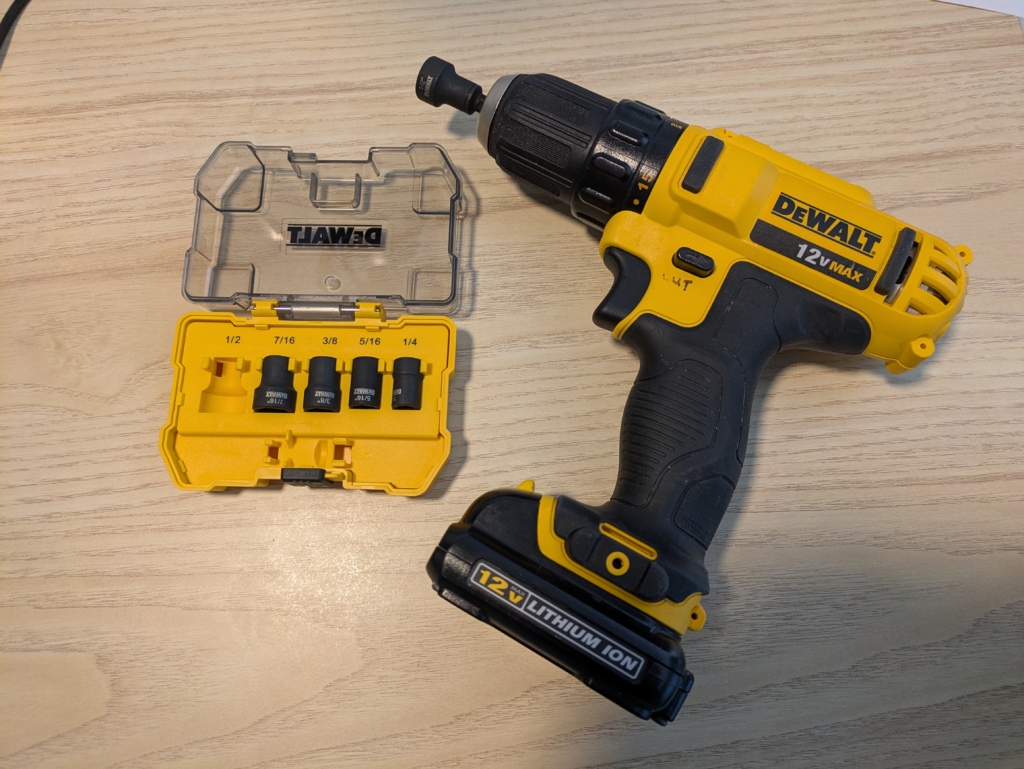
DeWalt power drill and DeWalt nut driver set
The result
After driving the lag bolts with my power drill, I would say the job was successful. The mount was up there and it wasn’t coming down, and the best part is I didn’t drill into anything surprising like plumbing or electrical!
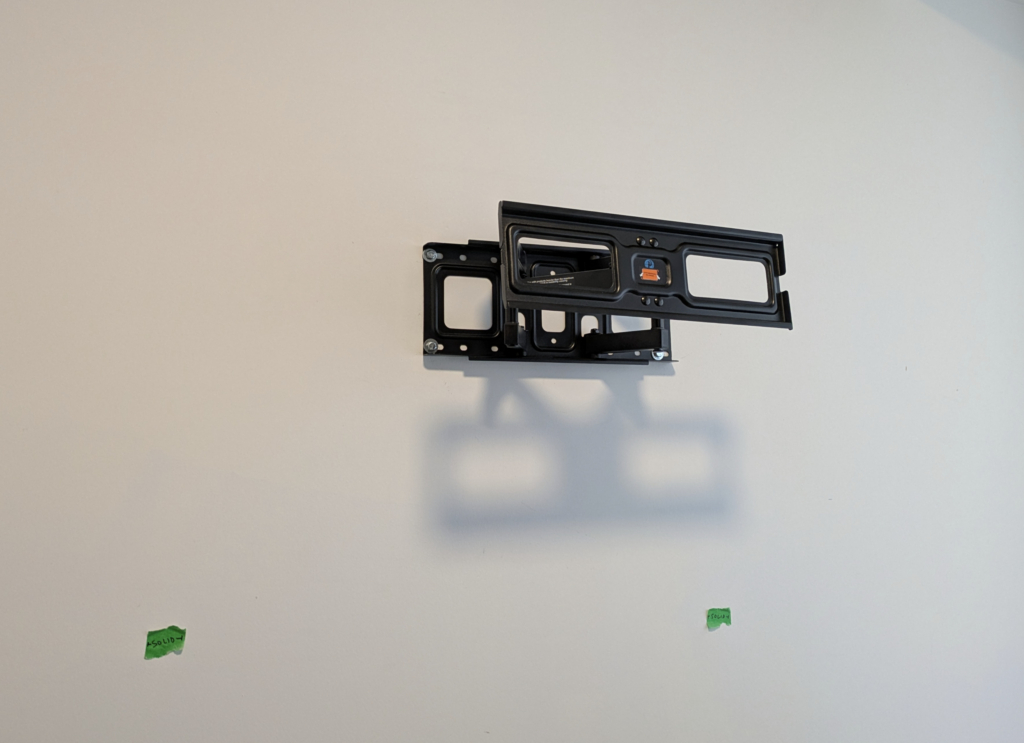
TV mount successfully mounted
In conclusion, some tips!
In conclusion, here are some things that I think would be helpful to take into consideration for an install like this:
- If there’s no instruction for the type of wall you’re trying to mount into, consider any modifications to the provided instructions you’d need to make in order to safely mount into your wall, e.g. no instructions for a concrete wall with drywall in front, only for concrete, then getting longer lag bolts to compensate for the thickness of the drywall would be recommended
- If you’re one person and you’re mounting a TV on your own without the help of a friend, consider purchasing a mount that has the feature that allows you to hang the TV part of the mount on it and let go so that you can free your hands to secure the safety screws. Ladies and gentlemen that live alone, you can mount a TV by yourself… if you buy the right TV mount that supports you during the mounting process!
- Always use a stud finder, even in concrete. It finds more than just studs. There’s possibly stuff in that wall and you don’t want to hit anything.
- Consider using a cardboard cut-out the size of your TV to prototype the position of your TV to help you better visualize it. Cardboard is cheap and easy to work with, and while it may feel a bit weird holding a TV-shaped piece of cardboard over your head, it might be a bit better than using tape since you can freely move it around
- Consider using a power drill or an impact driver to drive in the lag bolts as there’s a considerable amount of resistance driving long lag bolts into anchors in concrete
Overall, this mounting project was very successful. It took me a while to get there as I needed to deliberate about the new fasteners, buying a hammer drill, and the appropriate drill bit, but I was really happy that I was able to do it myself with the helpful guidance of some friendly people I met along the way.