
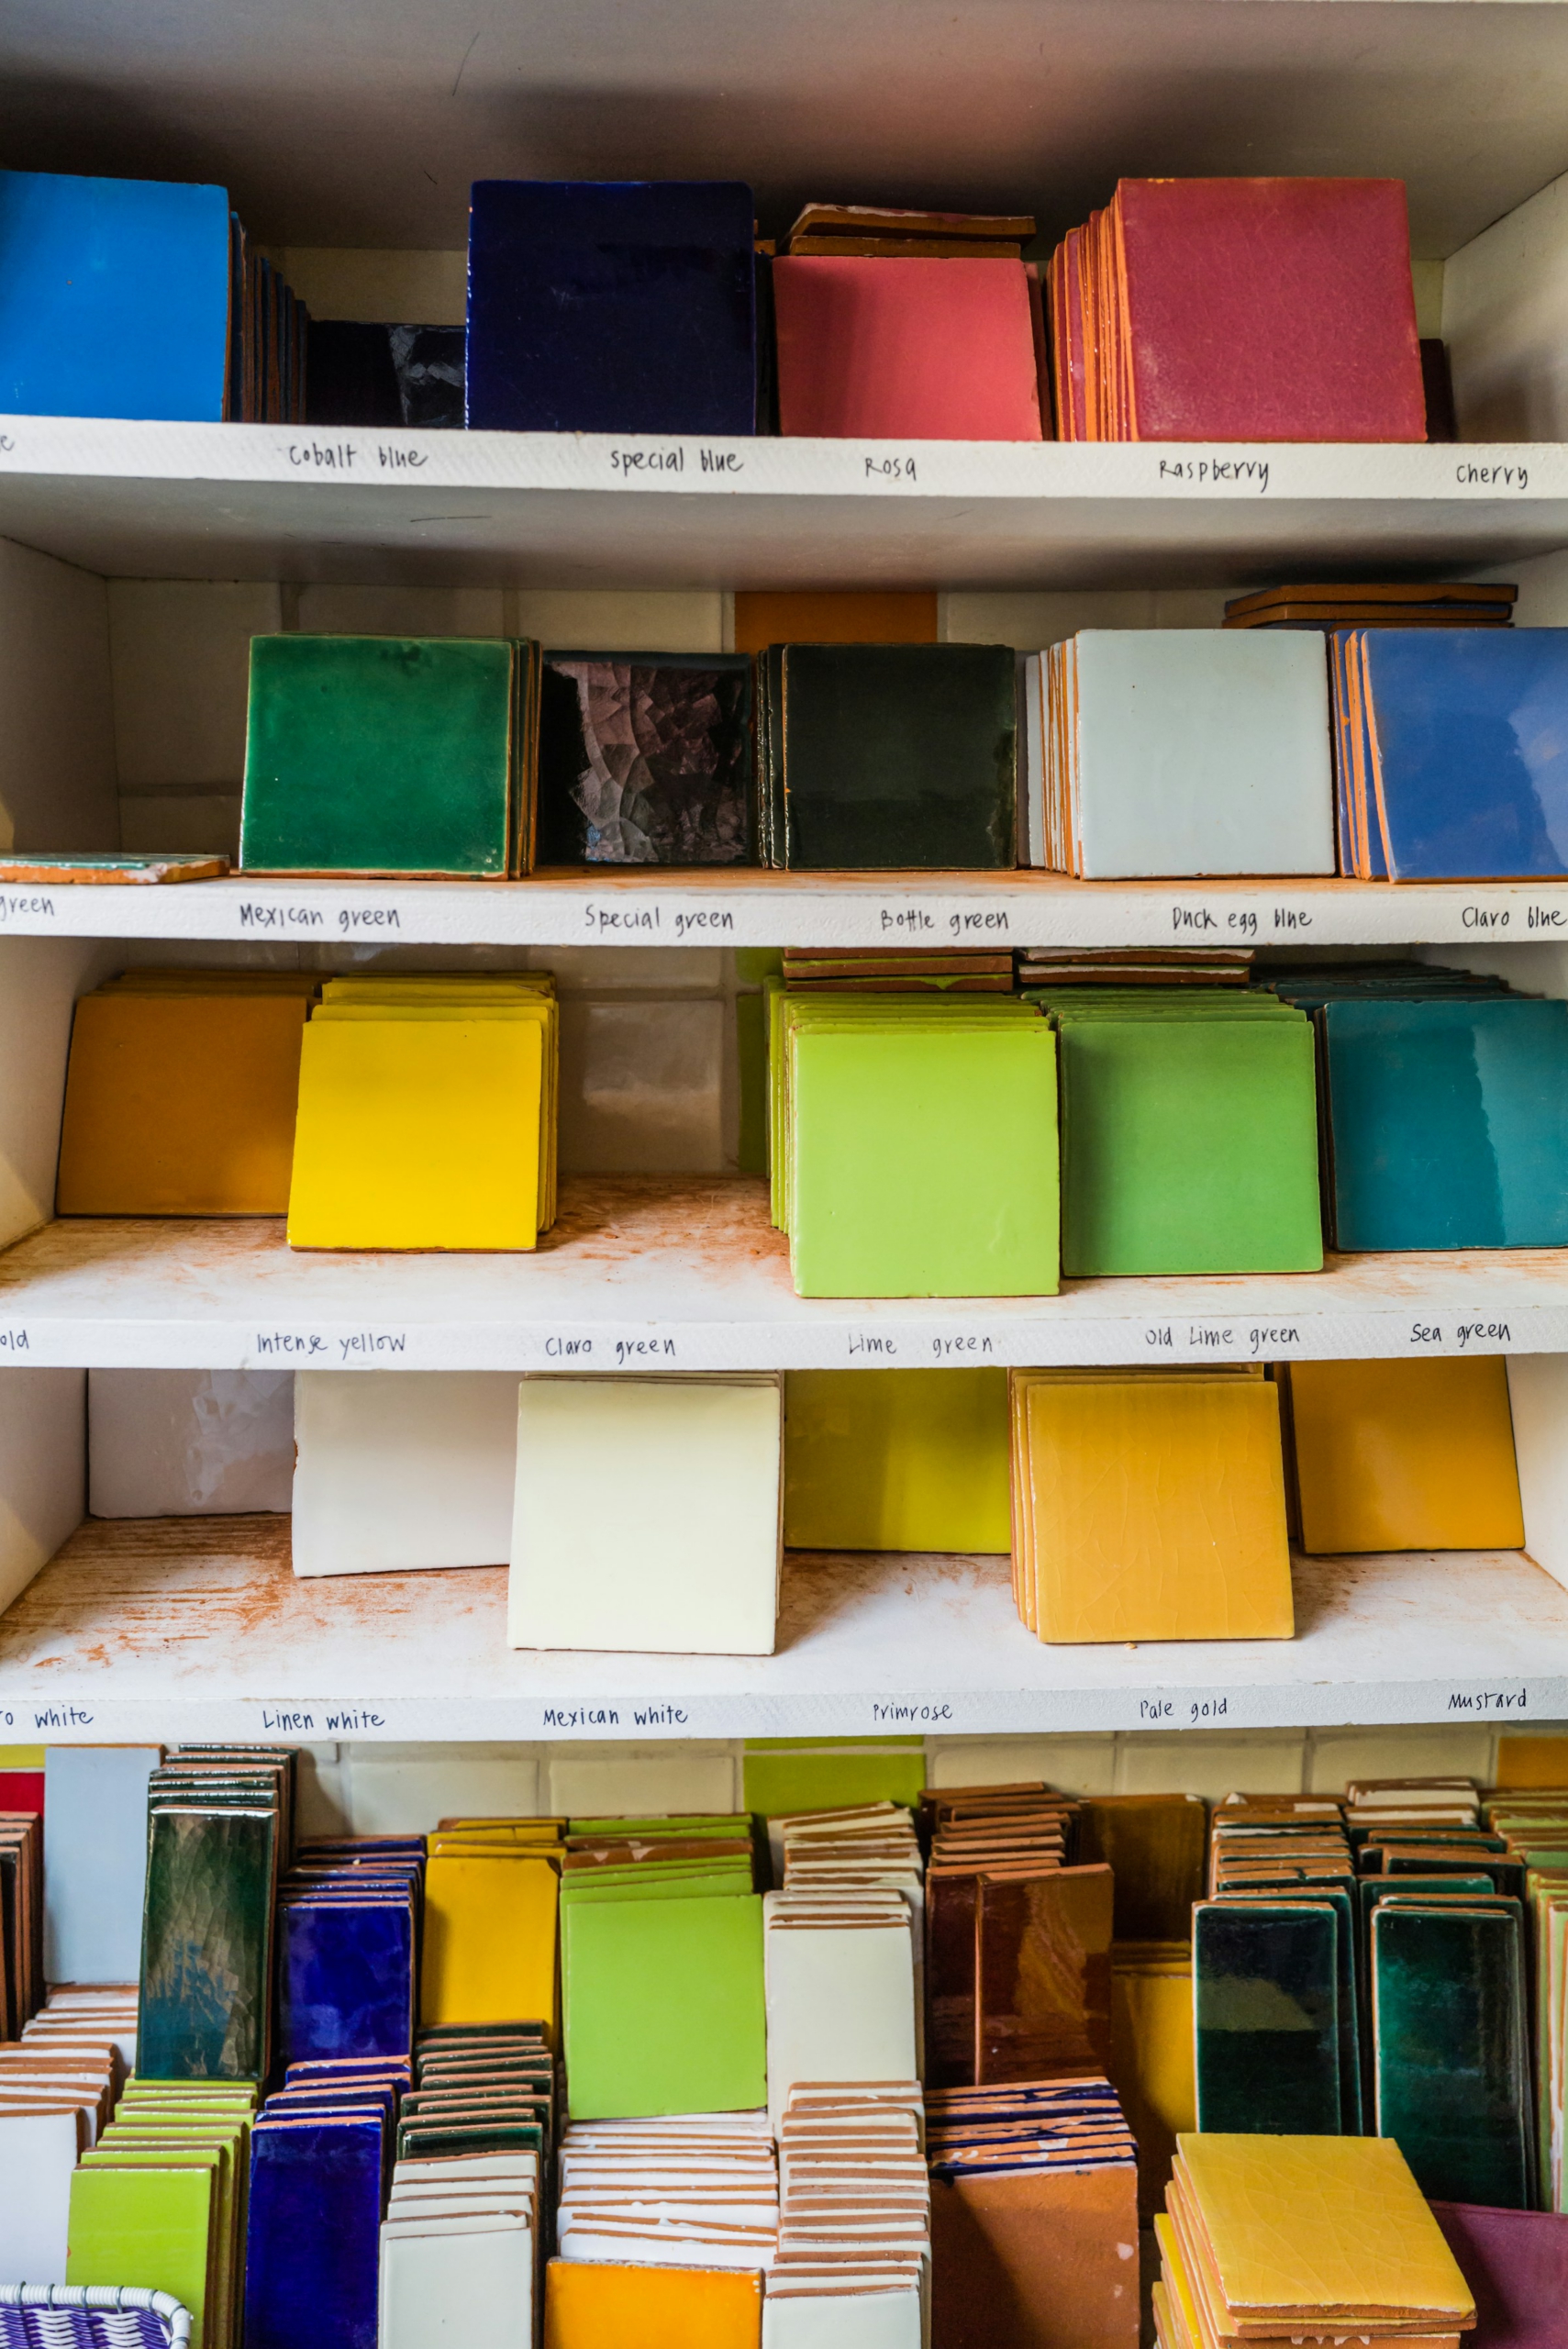
There are a lot of aspects of tiling. This post will focus primarily on my experience with cutting tiles.
My backsplash needs repair so I’m faced with the new challenge of tiling a backsplash. One of the things I need to consider is the type of tile I want to use on the backsplash. I have quite a few options and I need to consider more than just the look of the tile if I’m going to do it myself.
Two criteria I think are important to consider when trying to make a decision about cutting tiles:
- The material of the tile
- The size of the tile
- The tools you have and/or the ones you’re willing to buy, borrow, or rent
There might even be more things to consider but these are the things I considered.
Tools used to cut tile
Before I get into breaking down what it’s like to work with tiles made of each material and size, I’d like to go over some of the tools that can be used to cut tiles.
Manual tile cutters
Manual tile cutters come in a couple of different forms:
- a hand-held pen-shaped tool
- a tabletop machine with sliding parts
Manual tile cutters work by sliding a scoring wheel against the surface with enough pressure to cause a shallow incision. For the hand-held tool you need to use a straight-edge to make a straight cut, and with a table-top manual tile cutter tool, it slides along a straight edge by default.
Then, after scoring your perfectly-straight line, you apply pressure on both sides of the incision to cause it to snap along the incision. The tabletop machines have both scoring and snapping built in, but if you use a pen scoring tool, you could either use hand-held snappers or a hammer to cause vibrations to make it snap.
Manual tile cutters can result in material waste when you accidentally break a tile the wrong way. This approach does not create the cleanest cut, but in my opinion, using a table-top manual tile cutter is one of the easiest ways to cut tiles.
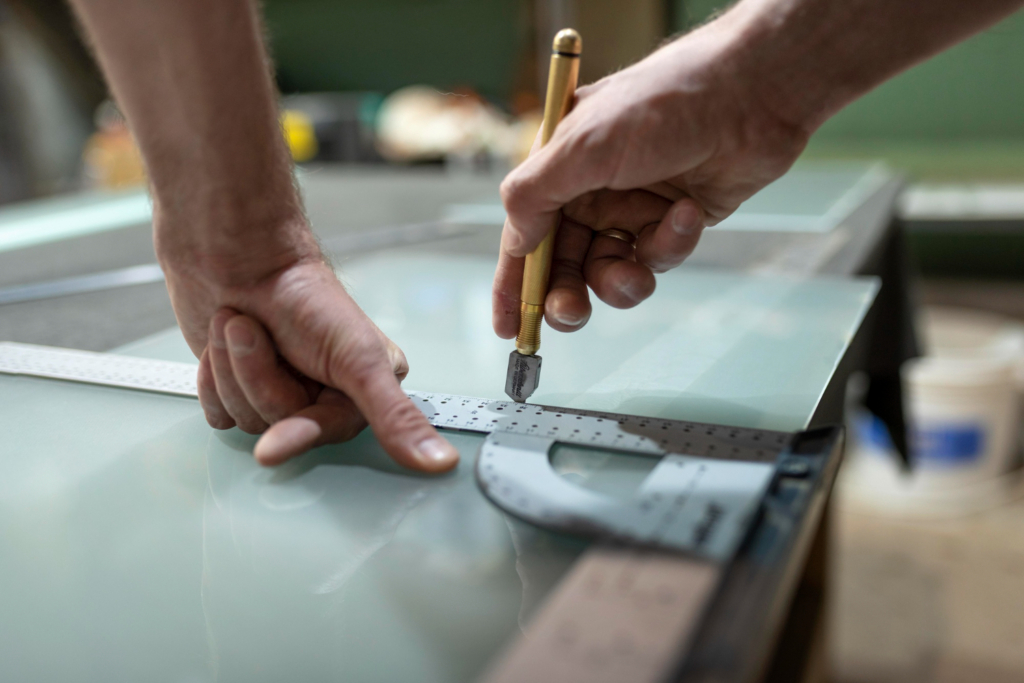
Man using a hand-held glass cutter to score glass. Photo by freepik (Magnific)

Woman using a table-top manual tile cutter to score a large format tile. Photo by freepik (Magnific)
Manual tile cutting tools provide a low barrier to entry and very little safety risks. They’re relatively safe to use since you’re more likely to cut yourself on the sharp edge of a cut tile rather than the cutting tool itself, but breaking the tile instead of cutting it will result in a line break that leaves room for improvement, which is where the next tool comes in.
Wet saw
A wet saw is a tabletop power tool that allows you to cut tile. It uses water which has a dual purpose to both reduce heat as well as limit dust that gets sent into the air. These require a power source to operate and come in corded and cordless versions.
Wet saws create clean cuts and are the optimal way of cutting tiles when striving for a clean, straight cut.
Like all saws, wet saws provide safety risks. They are power tools with moving blades that can cut ceramic, porcelain and glass, so they will definitely cut through skin and bone. It’s important to learn how to use a wet saw safely to avoid injury. Comfort with saws is an important aspect to consider when choosing a tiling material.
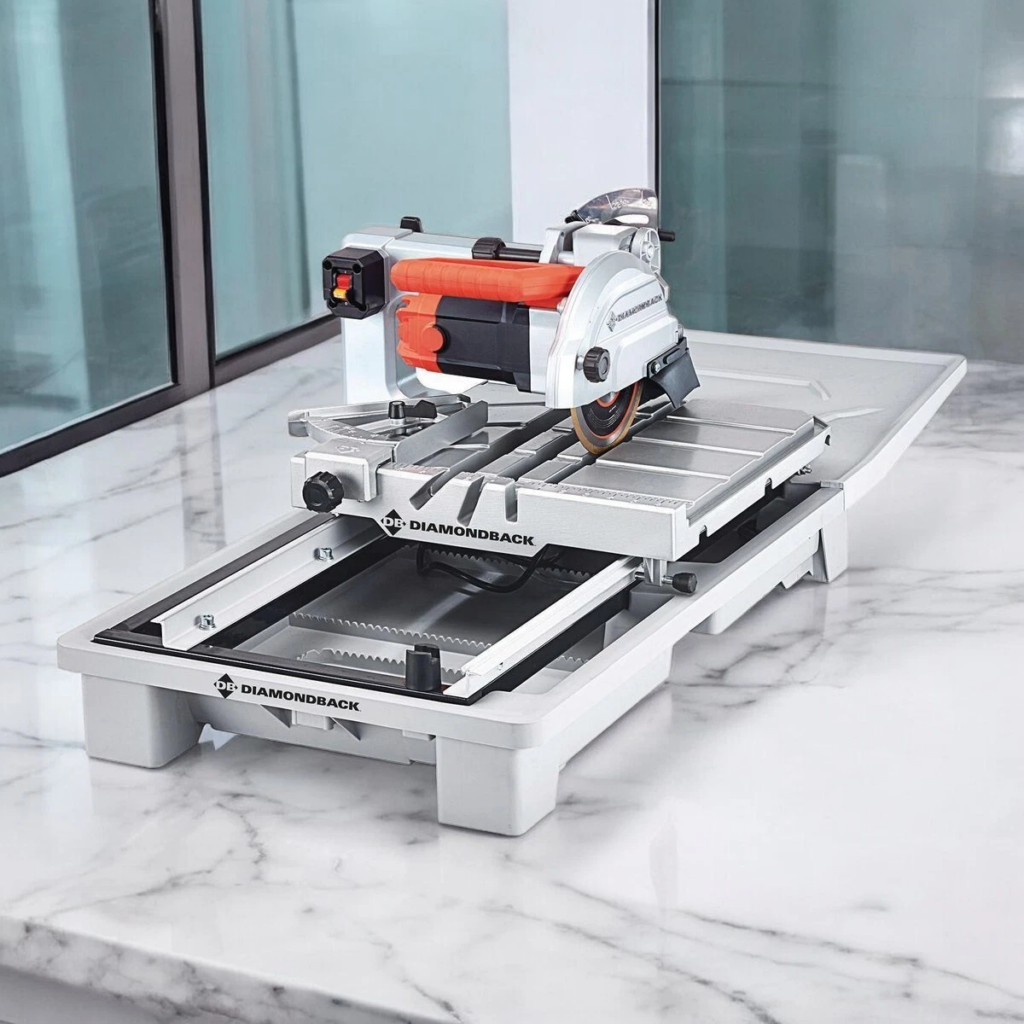
Corded wet saw with sliding table
Tools for cutting angles
When you need to cut angles into tiles, like when working around an electrical receptacle, an angle grinder or cut-off tool would be a good tool to use to cut into the tile in the shape that you need.
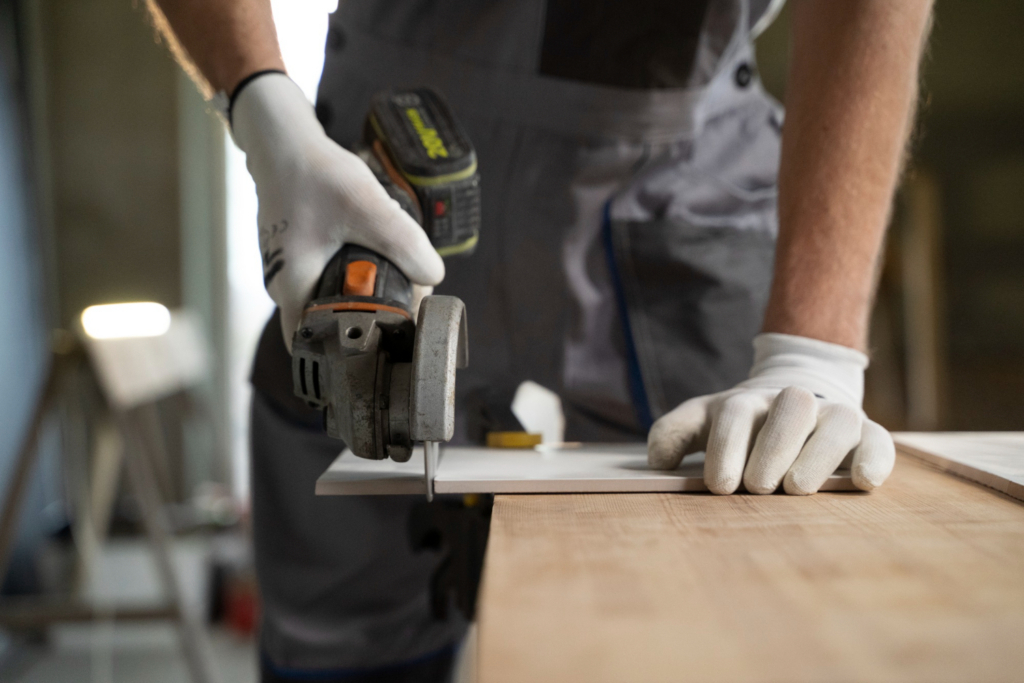
Man using a cut-off tool to cut through a tile. Photo by freepik (Magnific)
Another alternative is to use nipper pliers but these do not result in clean cuts but might be suitable if your receptacle cover is large enough to cover the cut lines as these tend to leave a mess, especially on glass which can easily get chipped away by nipper pliers.
Learning about tile materials
During my research, I found there were three common options for tile materials with differences between them (and, before getting into that, I understand there are other, less common options as material like fancy natural stones and steel, but I did not evaluate those). The three common options I evaluated are as follows:
- Ceramic
- Glass
- Porcelain
Ceramic tiles seemed to be the easiest to work with since they can be cut with a manual tile cutter, which is a fairly affordable manual tool with very little safety concerns. As easy as it is to cut them to size, these are not the most durable option available and you may find you have to do repairs more frequently.
Glass is another material that is available as a tile. Glass tiles can look really nice with the way they are semi-transparent and can reflect the light, and many of them come on a mesh backing that makes them easier to apply, especially the smaller ones. This means that they can be fairly easy to work with up until the point where you need to cut them (which is a key consideration here). When glass is scored and then snapped—either by using a manual tile cutter or handheld pen-shaped glass cutter—this results in an uneven break line. To get a clean cut on glass tiles, a wet saw would be required.
Porcelain is a material that is stronger than both ceramic and glass but is a bit more difficult to work with. Porcelain is a stronger material than glass and ceramic. It’s highly likely that the porcelain tiles you find will need to be cut with a wet saw, which raises the barrier to entry. I have not personally worked with porcelain tiles (yet!).
Size of the tile
There are various tile sizes available, from the tiny mosaic tiles on mesh to individual subway tiles to large-format tiles that are 24″ in length/width and longer, and some can even get up to 120″ according to my searches for large-format tile.
One of the reasons to consider large-format tiles is that some may argue that they look better, at least in modern contexts. Walls, cabinets, and countertops are not always perfectly square, and they show the unevenness of walls a lot less because there are less grout lines to line up between these un-level and uneven surfaces. When you use subway tiles, for example, it becomes evident quite quickly when walls are not perfectly square. You may have to cut a subway tile in half lengthwise on one side of your backsplash whereas on the opposite end you may even have to use an extra tile because the heights vary.
Another benefit with less grout lines is that there’s less to get stained and have to clean. In a kitchen backsplash where it’s literally in the name, they will get splashed! Unsealed grout is porous and absorbs liquids and stains. You can seal your grout regularly to help prevent stains, but it’s likely that the grout will get stained eventually. Subway tile, for example, if the grout is left unsealed, could absorb a lot more stains than a large format tile that has less grout to hit with splashes.
One of the drawbacks to working with large-format tiles is that larger tiles will likely not fit in a table top tile cutting machine—the wheel needs to score the entire length of the tile you want to cut and that sliding part only goes so far. To work with large format tiles, a wet saw would be required. So cutting large-format tiles would be quite difficult without a wet saw. A quick search on a big box hardware store website shows an entry-level tile cutter is 14″. Tiles start being considered “large format” at 15″ but even then, a lot of large format tiles can be 24″ x 24″ or 48″ x 24″ which are all too big for a table-top manual tile cutting machine.
Working with large-format tiles seems like it requires more skill and tools to cut than working with ceramic subway tiles. The measurements and cuts need to be perfect the first time since the cost of waste is much more expensive with large-format tiles than it is with subway tiles, where you could discard a single tile easily and grab another from the box.

Tiler putting down large format tiles (24″ x 24″) Photo by Diana Gritsku (Magnific)
My experience tiling
I have used both ceramic and glass but have not yet had the opportunity to work with porcelain. I have only used subway tiles and mosaic mesh tiles. I enjoy working with ceramic tiles, and at this point I’d be ok with having to replace a tile here and there if one breaks on the wall.
I cannot recommend working with glass tiles unless you have a wet saw since scoring, snapping, and nipping is highly likely to leave edges that are not straight and are chipped.
Considering I will be redoing the backsplash, I will be approaching it in one of the following ways:
- The hard and expensive way: Buy a wet saw and choose to work with large-format porcelain tiles
- The cheap and cheerful way: Buy a table-top manual tile cutter and a cut-off tool or angle grinder and choose to work with ceramic subway tiles
I’m sure there are some options in-between, e.g. working with porcelain subway tiles and a manual tile cutter, but I think if I’m going to choose porcelain I’ll go big or go home! One thing I will insist on is not trying to cut glass tiles without a wet saw.
I have not yet made the decision, so if you have any thoughts, feel free to leave a comment!